[vc_row][vc_column][vc_video link=”https://youtu.be/2LKJ7ZdjydA?list=PLk2rB61upxkmB9YAoACt_s367ibKOdHlk” align=”center”][/vc_column][/vc_row][vc_row][vc_column][vc_column_text]In this video May Martin talks about Invisible zips and why they are one of the neatest ways to finish a garment. But don’t be afraid! As May says, it’s all in the preparation.
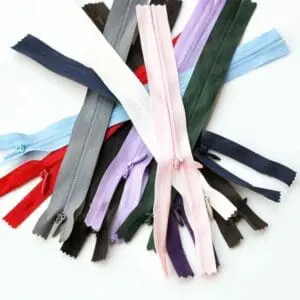
May explains that although the zip won’t show if it is sewn in well, they are available in a range of colours. It is best to match the zip to the colour of your garment. If you cannot find an exact match, opt for one that is darker. You can buy an invisible zip foot but any ordinary zip feet can be used.
May demonstrates how to attach an invisible zip to a garment.
- Place the teeth under one of the grooves of the zip foot and sew close to the end of the coil. Start from the top and sew down until you meet the pulley.
- Make a mark on the opening where the zip is going to sit. Undo the zip, take your iron and tuck it under the coils of the zip to release the tension. Be careful not to melt it!
- Tack your zip in before you sew it in.
- If you have a seam around the back of your garment, put a mark on either side of the zip where the seam is. Then you know those two marks are opposite each other when you insert your invisible zip.
- When both sides have been sewn in, test the zip works correctly. Next, stack all the coils of the zip to one side and slide an adjustable zipper foot next to the seam line, where you’ve sewn in your invisible zip. After this, you can complete the rest of your seam.
May concludes that zips can be quite technical and challenging but encourages you to start practising with one or two. Once you have mastered it, it will be the best fastening you can do![/vc_column_text]
Dressmaking
(25)
£0.75

Haberdashery
(14)
£0.55
Bridal
(32)
£0.95